-
iOgrapher with iPad Mini 4
The iOgrapher case is the latest piece of equipment I’ve added to the live streaming arsenal. As of right now, most of my live streams are done using an iPad Mini 4, and it was time to finally invest in a case. Previously, I had been using a cheap case that got the job…
-
Using the Rode SC6 Adapter
I had the chance to test out the Rode SC6 mic adapter a couple weeks ago during a Facebook Live broadcast. I plugged in two Rode smartLav mics for the two on-camera hosts. The adapter itself was plugged into an iPad Mini 4. I have to say the sound quality was crisp and the…
-
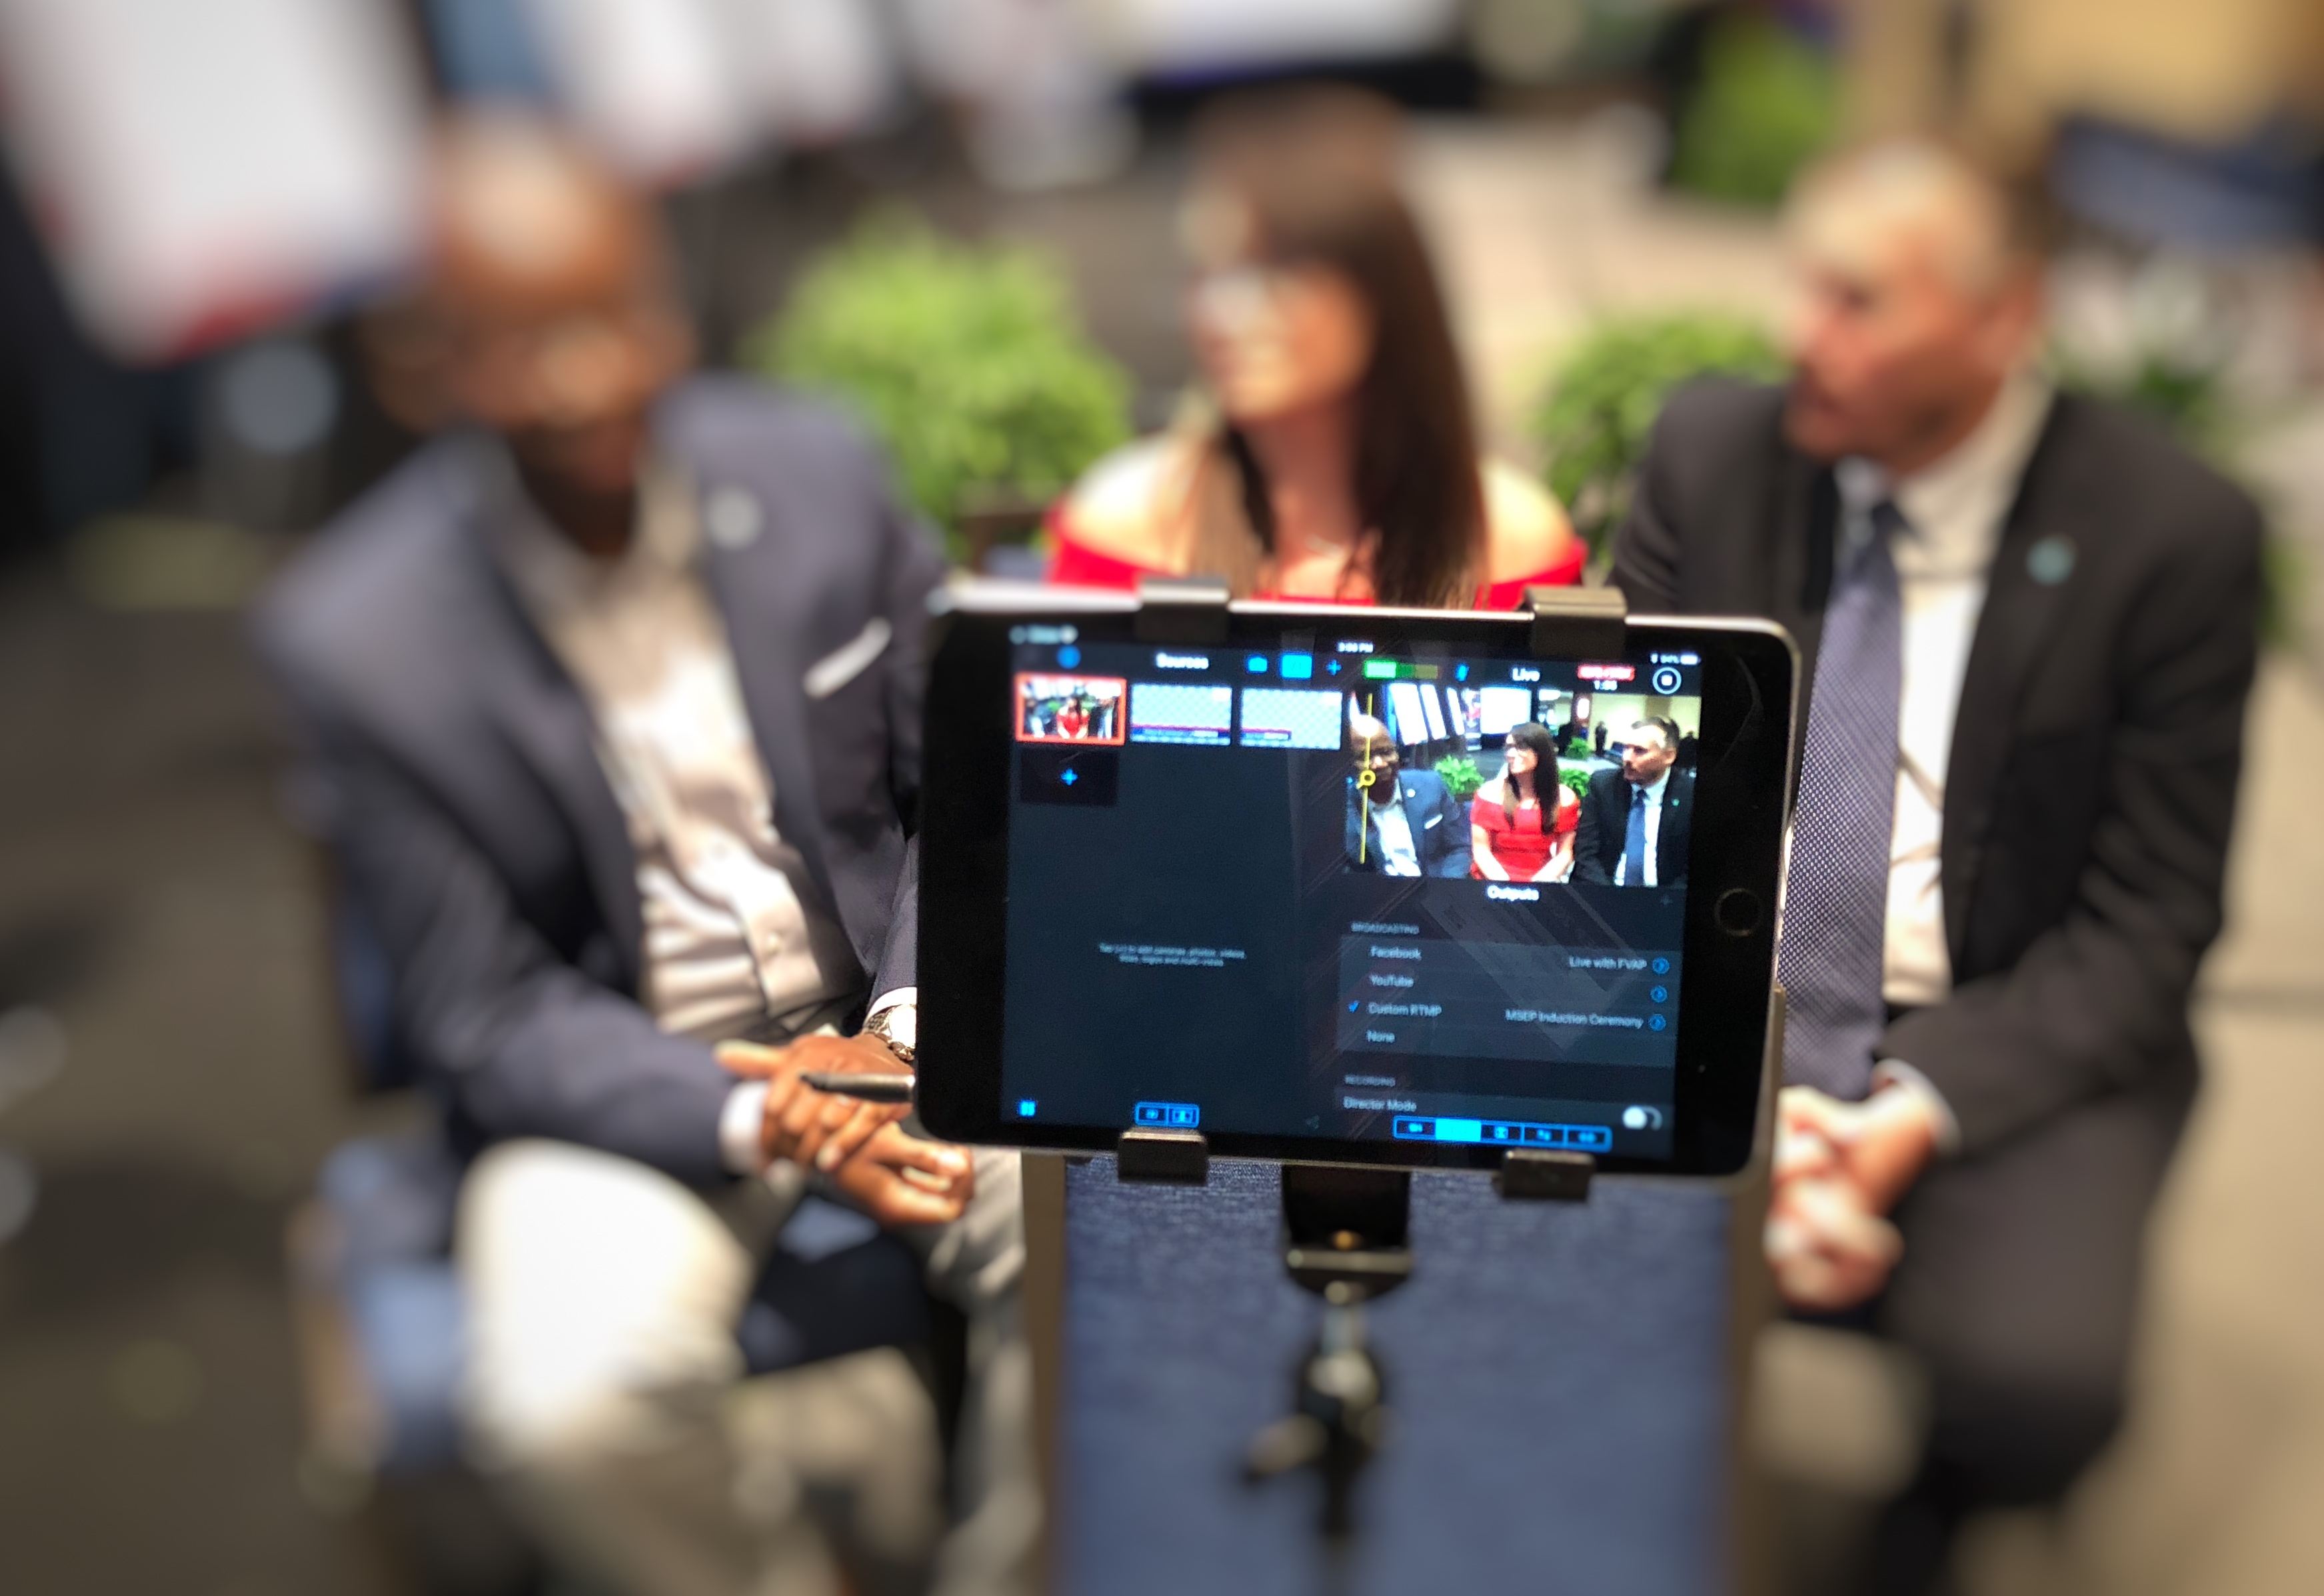
Facebook Live Essentials
I’ve had the opportunity to do all kinds of live streams on Facebook over the last year – events, sit-down interviews, small panel discussions, Facebook page takeovers – and I’ve determined that as long as you follow a few basic principles, your broadcast can be highly engaging and provide great value to your audience.…